Farmacie online Farmacia Millefolia cu cele mai bune prețuri din România.

Adobe Premiere Pro and After Effects Plug-in Development Course on fxphd.com

I’m happy to announce, that this term I’m teaching plug-in development for Adobe Premiere Pro and Adobe After Effects on fxphd. I’ll be covering the basics of C/C++ and Adobe After Effects SDK in a bit more detail, as well as GPU acceleration for Premiere. All these will be illustrated with a simple vignette effect that we are going to create during the course with the students. Believe it or not, any similarities to the very first effect that I wrote are coincidental. see more

Warning about using RGB and Luma Curves in Premiere Pro CC

Update: The 7.1 version due out in October is going to fix the issue altogether. Great job, Adobe!

Update: The 7.0.1 patch for Premiere Pro CC fixes some of the below mentioned issues, although unfortunately not all of them.

To my great chagrin Premiere Pro CC changed the way curves operate. Right now the curves, both RGB, and Luma, clip the superwhites and superblacks, and there is no interpolation going on after the curves hit 0 or the white level (255 or 1.0). In CS6, the curves followed the general slope, and it was possible to recover some of the “overshot” material. Right now, if you stick to curves, all clipped data is lost.

cs6

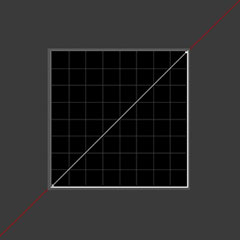
Curve's interpolation in Premiere Pro CS6 allowed to recover superwhites or superblacks, and correct the contrast in the same instance.

cc

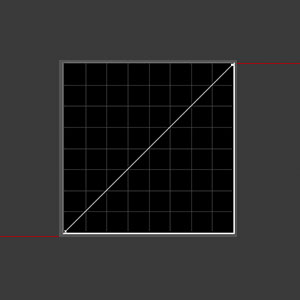
Premiere Pro CC clamps all superwhites and superblacks, and recovering the detail is not possible with the use of RGB or Luma Curves.

This is completely new, unexpected, and if you ever used curves, it changes your workflow dramatically, even if you don’t know it yet.

It means that you must remove the superwhites and superblacks from the clip before you use RGB curves. It means that if you were like me, using curves to apply the basic correction and contrast in one go, you cannot do it now. You have to first make the signal “legal” – reduce the superwhites and raise the superblacks with for example Fast Color Corrector, so that they fit between the range that curves operate on – RGB scale that is not overshot in either direction, even if you are working in the floating point (max bit depth).

fcc

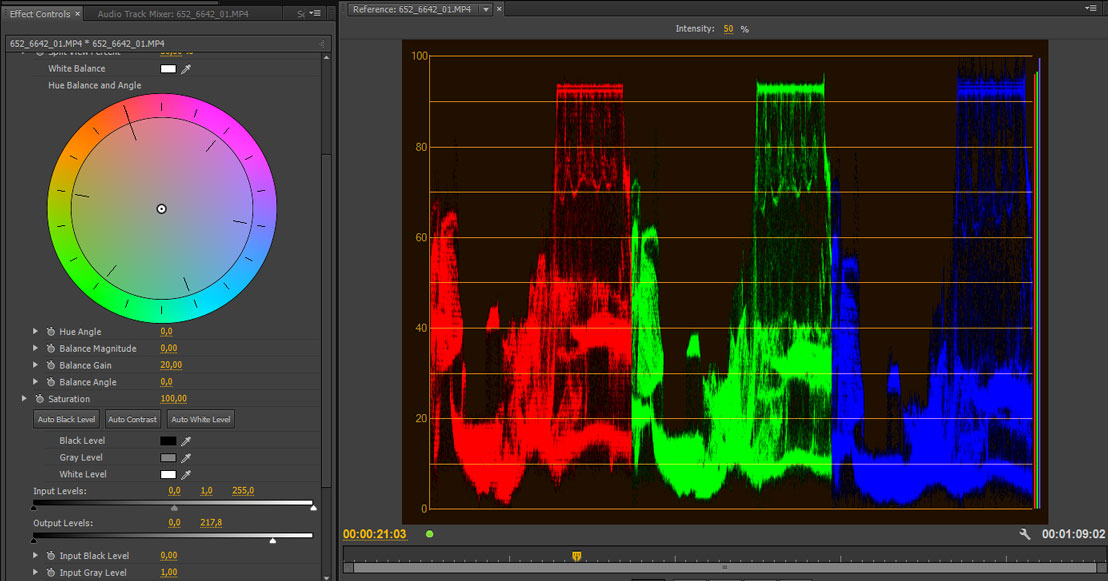
In Premiere Pro CC you need to use Fast Color Corrector or Three-Way Color Corrector to bring the superwhites back into the RGB scale. Only then you can apply curves, and be sure that you are not loosing data.

It also means that there is no real backwards compatibility within the projects that used curves. Your colors will not be the same, if you had any superwhites in the project. I highly advise you to finish your current projects in CS6, and only then create the new ones in CC, being mindful about the necessity to use Fast Color Corrector before applying curves.

Adobe is aware of this issue, and hopefully some fix will come soon, but while using CC 7.0.0 version of Premiere you need to remember about this very real problem.

I stand corrected…

In an excellent recent article on Pro Video Coallition Alexis van Hurkman explained how the terminology which I use in my Power Window filter, and in my Lift, Gamma, Gain tutorial is incorrect. The control called “Lift” should in fact be called “Offset”, based on the way it works.

Similarly, the formula which I used to calculate the resulting pixel value in the filter is also a bit different than the approved ASC CDL standard. In my case I decided to apply the power function (gamma) to the input value of the pixel, and the CDL order applies gamma as the last operation, affecting the result of the offset and gain corrections. Come to think about it, it makes a bit more sense than the way it is implemented now, especially for the footage which was shot in log space. If you set your black (offset) and white (gain) levels, you don’t want them to move, when you change the midtones (gamma).

Perhaps for the compatibility sake I should add another (sigh…) control where the user would be able to choose between color calculations, but after giving it some thought, I will definitely correct the order of operations in the next release of Power Window plugin.

Applying the Power Window effect

I’ve been both terribly busy and sick lately, thus the lack of the tutorial last week. Hopefully, something interesting will come out of my business next week, and I would advise you to follow my blog during NAB, if you are interested on my take on a few things that might come up there.

But until then, here is this week’s tutorial:

Major improvements in Vignette and Power Window

Some of you have complained that my plugins sometimes take a lot of memory to run, and that they are not CUDA accelerated. Well, GPU acceleration will have to wait for a moment longer, but I have coded a few improvements to the Power Window and Vignette which will result in less usage of memory, and much quicker render times.

It used to be, that on the faster machines the CPU usage during rendering these plugins fell from 90% to 15-20%. I did not really know why. It was not multithreading – this is something that Premiere handles on its own. As it turned out, it was an issue of poor coding, and lack of knowledge.

I fixed that, and I also added clamp input black control to Power Window which should fix the problem with low blacks causing problems in gamma calculations, and added various alpha falloffs to the Vignette. The impatient ones may follow to the downloads page, and grab the newest versions. Those interested in details please read on.

Both Vignette and Power Window use the same part of code to calculate the position of the mask. Up until this release, these calculations were performed separately for the move, scale and rotation, for each pixel, for each frame. I was clever enough to calculate the sinuses and cosinuses at the effect setup, but it still turned out to be a significant number of calculations.

Those of you who know about matrices, affine transformations and homogeneous coordinates, have already most likely buried their faces in their hands, crying “why, oh why did you do this? Didn’t you know any better?” As it turns out, I didn’t. And I should have.

I’m a physics major. The knowledge and skills I gained during the studies are really helpful in many aspects of my life, including coding these plugins, and – of all things – understanding how camera sensors work. I used to learn algebra and matrices as far back as high school. And I was pretty decent in understanding them.

And yet, I missed the obvious: that I should have created a single transformation matrix for all the transformations, and apply them all in one go. And had I attended a course on computer graphics during my studies, I would most likely know, that the mathematicians have already came up with some nifty way to resolve my problems. As it was, I learned about the proper way to do this only recently, when I found strange 4D matrices for 3D transformations in Nuke. After doing some research on homogeneous coordinates, with a subtle push from my friend Wojtek Bagiński, I finally decided that I’m going to apply this knowledge to my plugins as well.

The result was far more dramatic, than I would have ever anticipated. Finally the plugins started to use 90-100% of CPU power, and the memory usage dropped down considerably.

Originally there were 11 multiplications, 3 divisions, 4 subtractions and 2 additions to calculate an ellipse. I changed it to 4 multiplications and 4 additions, so it’s a reduction by the factor of 3-4 with a few type conversions lost as well. And the end result is that, even though these plugins are not yet GPU accelerated, you can preview them in the real-time on most of the machines.

It’s good to learn new things. And even better – it’s better to know things so that you don’t have to reinvent the wheel, since somebody has already done it for you. When you don’t know that something exist, you don’t even know what to look for, and your solutions to common problems will most likely be suboptimal.

Go out and learn then 🙂