When dealing with footage which was shot at improper white balance, and trying to correct it, I sometimes wished that Premiere had the temperature slider present in Camera Raw or in SpeedGrade. When a friend expressed similar concern, I decided to take my shot at it. After all, it should be relatively simple, right? It’s only moving the pixels towards blue or orange, and in the case of tint, towards magenta or green.
I even found a sample approximate algorithm to calculate the white point at a given temperature, and almost ended up using it. However, after reading on how the proper mixing requires conversion to HSL colorspace due to change in luma value of each pixel, I decided to explore the issue in more detail. It turns out, like with many other issues, that there are differences on what “temperature” exactly means in various software packages. Consider the following images:

Original image.

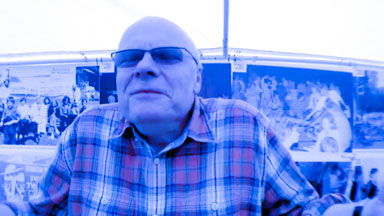
Camera Raw/Lightroom temperature adjustment set to -100. The image is brighter, and the tint is much stronger, washing out the shadows.

SpeedGrade’s temperature adjustment at -1.0 (equivalent of -100). The shadows are not washed out, although the image is darker due to clipped blue channel.
Clearly, Camera Raw is brightening the image, and almost looks like it is trying to mix the blue or orange solids with the picture. Perhaps similarly to what Tanner Helland described in the comments to his algorithm, but without the attempt to retain luminance. I find this adjustment not so great, especially for images with rich shadows that get washed out in the process.
On the other hand, the blacks in SpeedGrade are untouched, and it seems that the temperature/tint sliders operate only as gain adjustments, multiplying red and blue (temperature) or all three (tint) channels at the same time by roughly the same amount, and leaving the luma mostly intact except for the places, where the blue channel is clipped.
I even explored playing with gamma on the a and b channels in Photoshop L*ab color space, which directly code the interesting information (a is the tint scale, b is the temperature scale), but these were also not as satisfying as SpeedGrade’s. In the end, I decided to stick with the color correction software.
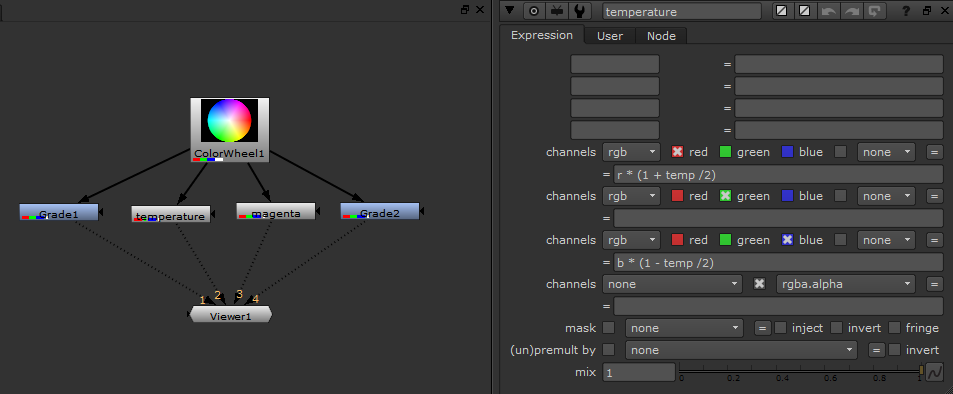
I experimented for a moment with the formulas and values, but in the end, I turned to Nuke to find how it resolves the issue, because it does provide an immediate numerical output. Finding out the exact adjustments was quite easy. Using grade and expression nodes I was able to mimic what Nuke was doing during temperature or tint adjustments, and came up with very simple formulas.

A very simple setup in Nuke allows to find the proper formula for handling temperature and tint adjustments to mimic SpeedGrade’s controls.
Implementing them as a plug-in for Premiere was relatively uncomplicated, and took me less time than writing the documentation for it. In fact, I was also able to successfully tackle OpenCL acceleration as well, but this will be incoming in the paid version some time in August.


